Mostrar mensagens com a etiqueta DIY. Mostrar todas as mensagens

29 abril 2013

Chairs :: Before & After


Acredite que as cadeiras que já não usa podem-se tornar nas cadeiras de que precisa.
Believe that the chairs that you no longer use can become the chairs you need.

Aqui estavam...
Here were...


Colar, lixar e pintar a madeira. Retirar o tecido e voltar a forrar.
Paste, sanding and painting the wood. Remove the fabric and lining again.

Aqui estão...
Here are...


O resultado final pode ser ainda melhor. Estas cadeiras são usadas no dia-a-dia e o tecido foi bastante barato. A variedade de tecidos atualmente é bastante grande e pode conseguir o efeito decorativo que pretender.

The final result can be even better. These chairs are used in day-life and the fabric was very cheap. The variety of fabrics is currently quite large and you can get the decorative effect you want.

10 janeiro 2013

Patchwork Without Patchwork Tools


Gosta de patchwork mas não tem utensílios? Então não se preocupe, precisará apenas de tecido, tesoura, giz, régua e fita métrica. Vamos começar!
Do you like patchwork but no utensils? So don´t worry, you just need fabric, scissors, crayons, ruler and tape measure. Let's get started!

1- Planificação Planning

2- Corte Cutting

 3- Marcação Marking

  4- Costura Sewing #1

Costura Sewing #2

5- Elaboração da almofada Making the pillow


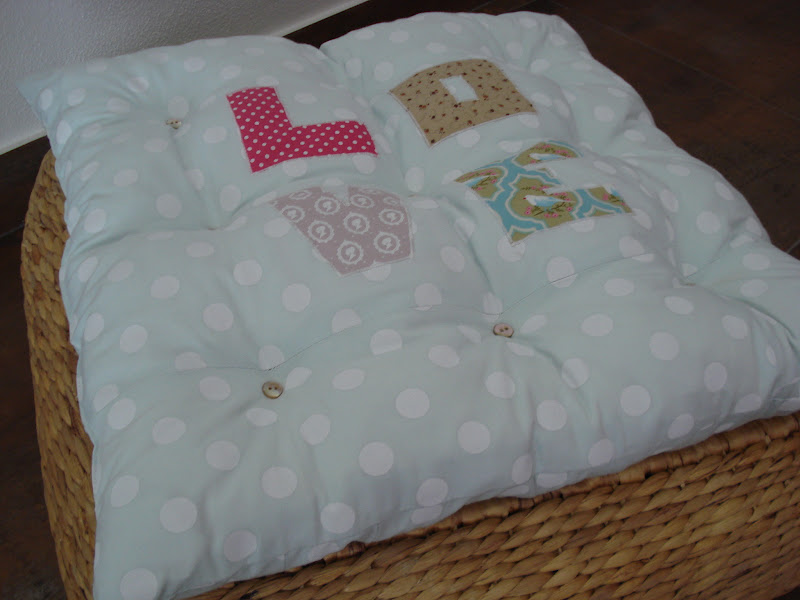
6- Resultado final Final result #1

Resultado final Final result #2


03 junho 2012

How To Make A Pillow

1- Dispor os tecidos: os dois interiores ficarão voltados para fora e os dois exteriores voltados para dentro. Coloquei lençol debaixo da capa para ficar mais suave ao toque.
1 - Arrange the fabrics: the two interiors will be turned out and the two outside turned in. I put bed sheet under it to be softer to the touch.
 
 2- Coser em toda a volta, deixando uma pequena abertura.
2 - Sewing all around, leaving a small opening.

 3- Virar o conjunto através da abertura.
3- Turn whole through the opening.
 4- Encher.
4 - Fill.
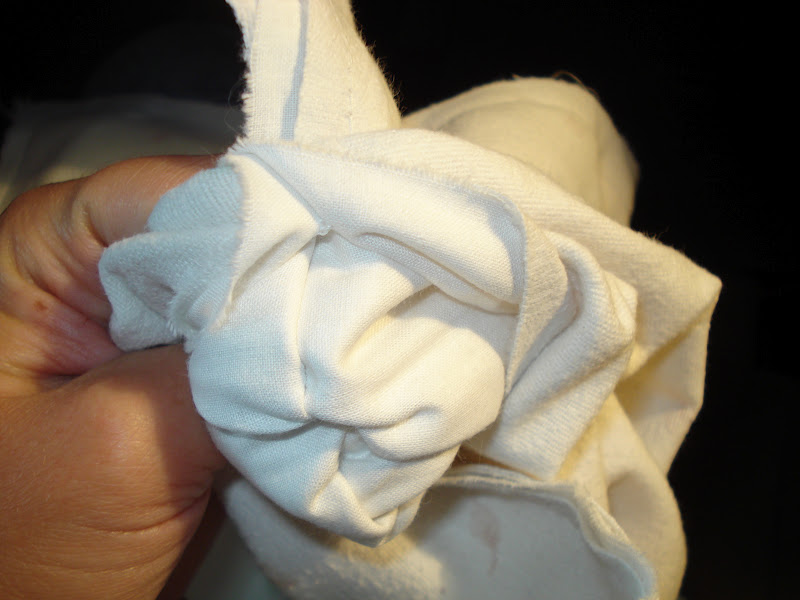
 5- Fechar a abertura. Pronto!
5 - Close the gap. Ready!

02 junho 2012

It Looks Like A Chicken??

 Num destes dias apeteceu-me fazer uma galinha e então pus mãos à obra. 
One of these days I wanted to make a chicken and then put to work.

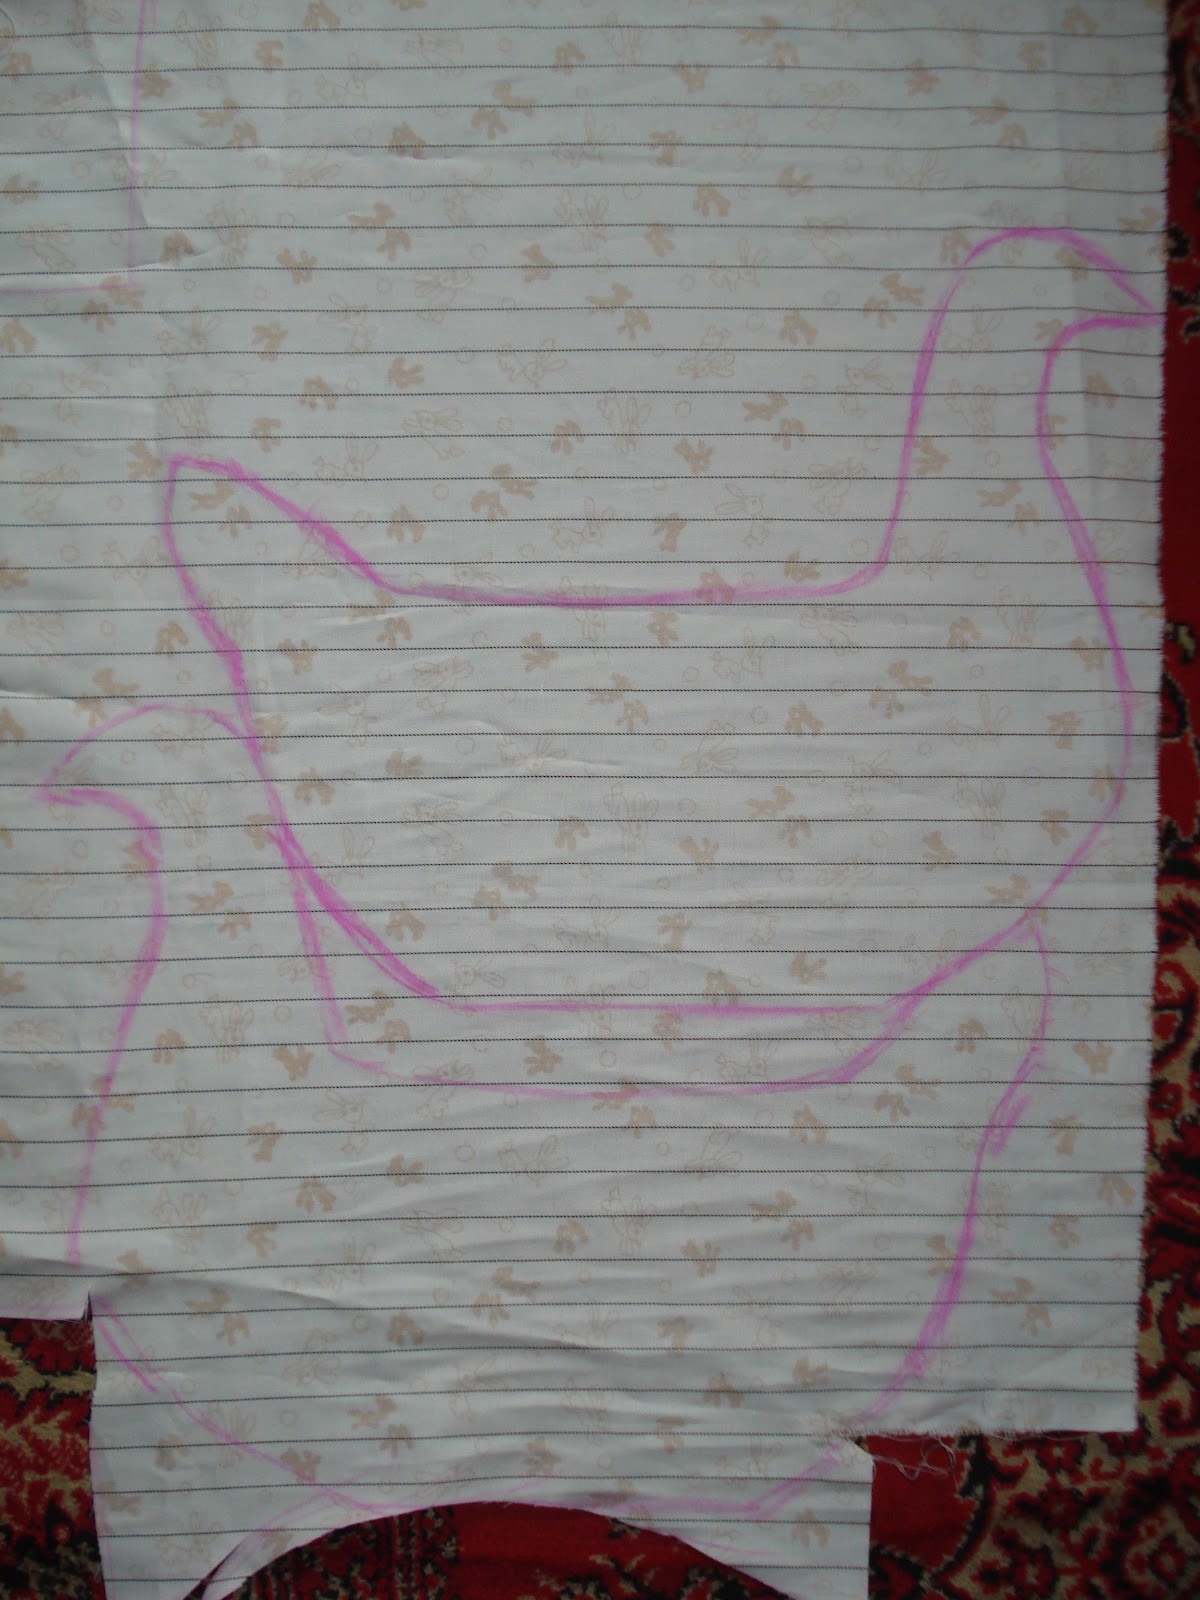
1- Desenhei o molde exterior em papel e cortei o tecido.
1 - I drew on paper the outside mold and cut the fabric.


2 - Desenhei o molde interior e cortei o tecido.
2 - I drew the indoor mold and cut the fabric.


3 - Juntei os moldes interiores do avesso e cosi, deixando uma abertura em cima (para coser ao tecido exterior) e outra em baixo (para virar o tecido e onde irá ser feito o remate).
3 - I have joined the interior molds inside out and sewed, leaving an opening on top (to sew the outer fabric) and one below (to turn the fabric and making the final seam.).

4 - Fiz uma crista, voltei-a e coloquei-a no interior da zona correspondente à cabeça.
4 - I did a crest, returned it and put it inside the area corresponding to the head.
 
5 - Juntei os dois moldes exteriores do avesso e cosi, excepto na abertura superior. Fiz duas pregas na base de modo a arredondá-la. Na abertura superior, cosi o tecido interior com o exterior, sempre do avesso. 
5 - I joined the two outer molds inside out and sewed, except in the upper opening. I did two folds ​​in the base to rounded it. In the upper opening, sewed the  interior and exterior fabric, always inside out.

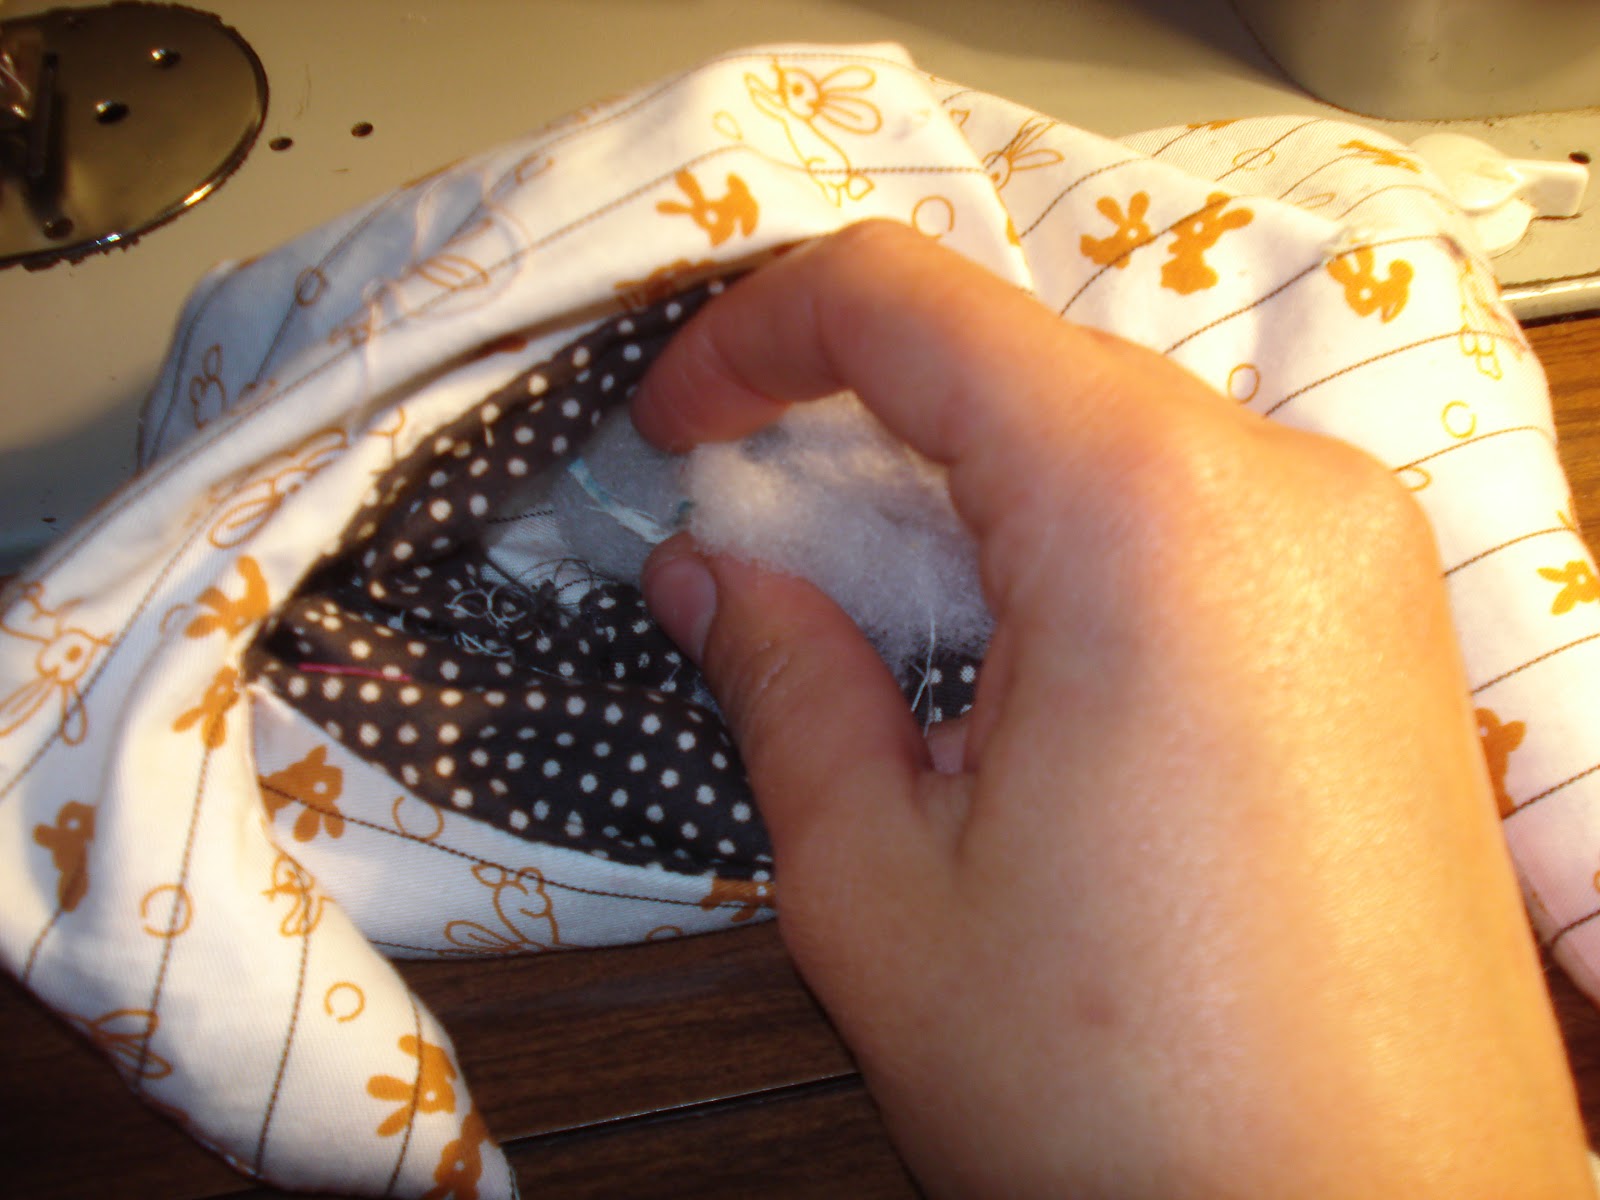
6 - Virei o tecido pela abertura inferior do molde interior e coloquei enchimento.  
6 - I turned the fabric through bottom opening of the interior and put filling inside.


7 - Cosi a abertura inferior do molde interior.
7 - I sewed the lower opening of the interior mold .

8 - Bem, eu queria uma galinha mas parece que me saiu um cisne. Fica para uma próxima =)
8 - Well, I wanted a chicken but it looks like a swan. For a next time ​​=)